Introduction:
As gardening enthusiasts, we all wish to extend our growing season and protect our plants from harsh weather conditions. One effective solution is a compact raised bed greenhouse—a versatile and space-saving option that provides an ideal environment for your plants. In this step-by-step guide, I will walk you through the process of constructing your very own compact raised bed greenhouse. With some basic materials and a little effort, you’ll soon have a functional and charming greenhouse to nurture your plants year-round.
Materials Needed:
Before we dive into the construction process, let’s gather the materials required for this project. Here’s what you’ll need:
- Pressure Treated Wood (Lumber): 2in x 10in x 10ft (Qty: 2), 2in x 4in x 10ft (Qty: 3)
- Furring Strips: 1in x 2in x 10ft (Qty: 2)
- 6 Mil Greenhouse Plastic Amazon Link
- PVC Pipe: 1/2in x 10ft 600 Schedule 40 (Qty: 2)
- PVC Fittings: 1/2in PVC Sch 40 Cap (Qty: 6), 3/4in x 1/2in x 90-Degree PVC Sch 40 Tee (Qty: 4), 1/2in 3-way PVC elbow fitting (Qty: 2), 1/2in 45-degree PVC elbow (Qty: 6), 1/2-in PVC x 45 Degree Coupler with 90 Degree Tee (Qty: 1)
- Snap Clamp: 1/2in x 4in wide for 1/2in PVC pipe (Qty: 12) Amazon Link
- Hinges (Qty: 2)
- Stainless Steel Handle (Qty: 1)
- Deck Screws: 3in, 2.5in, 3.5in, 1.25in
Tools Required:
- Hand Drill Machine
- PVC Pipe Cutter (1.5-inch)
- Hand Gloves
- Measuring Tape
Ensure you have these tools handy before starting the construction of your compact raised bed greenhouse. The hand drill machine will be useful for making holes and securing various parts together. The PVC pipe cutter, specifically designed for cutting PVC pipes, will help you achieve precise and clean cuts. Don’t forget to wear hand gloves to protect your hands during the construction process. Lastly, a measuring tape will be essential for accurately measuring and marking the dimensions of the materials.
Lumber Cut Dimensions:
- Pressure Treated Wood (Lumber) in dimensions 2in x 10in x 10ft:
- Quantity: 2
- Cut dimensions: 2in x 10in x 3.5ft
- Quantity after cutting: 4 (for the base)
- Pressure Treated Wood (Lumber) in dimensions 2in x 4in x 10ft:
- Quantity: 3
- Cut dimensions: 2in x 4in x 3.5ft
- Quantity after cutting: 8 (after setting up the base, measure the dimensions for the lumber that can be placed on the top of the lower body and upper body; the length may vary slightly from exactly 3.5ft)
Note: The dimensions provided are approximate and may vary slightly based on the specific measurements required for your greenhouse construction. Lowes or Home Depot will do the lumber cut for you when you buy the lumber so go prepared with the cut dimensions.
Now, let’s proceed with the construction process:
Step 1: Creating the Base for the Lower Body
Start by using the 2in x 10in x 3.5ft lumber to construct a square base for the lower body. Connect the lumber using 3in deck screws, using three screws for each joint. Additionally, reinforce the base by placing extra wood pieces cut from the leftover 10ft lumber in the middle of each inner side. Secure them with 3in deck screws.

Step 2: Adding a Flat Wood to the Top of the Lower Body Base
To create a flat surface for the upper body base, place 2in x 4in x 3.5ft lumbers on top of the lower body base, aligning the 4in side with the base. For added stability, use leftover pieces to fill the borders of the base. Secure everything in place with deck screws.

Step 3: Constructing the Base for the Upper Body
Similar to the top of the lower body, use the remaining 2in x 4in x 3.5ft lumbers to create a square base for the upper body. This time, however, you will need to use 3.5in deck screws and create a 45-degree angle drill to connect the lumbers securely. (This is a nice tutorial for a 45-degree drill: Youtube Link).
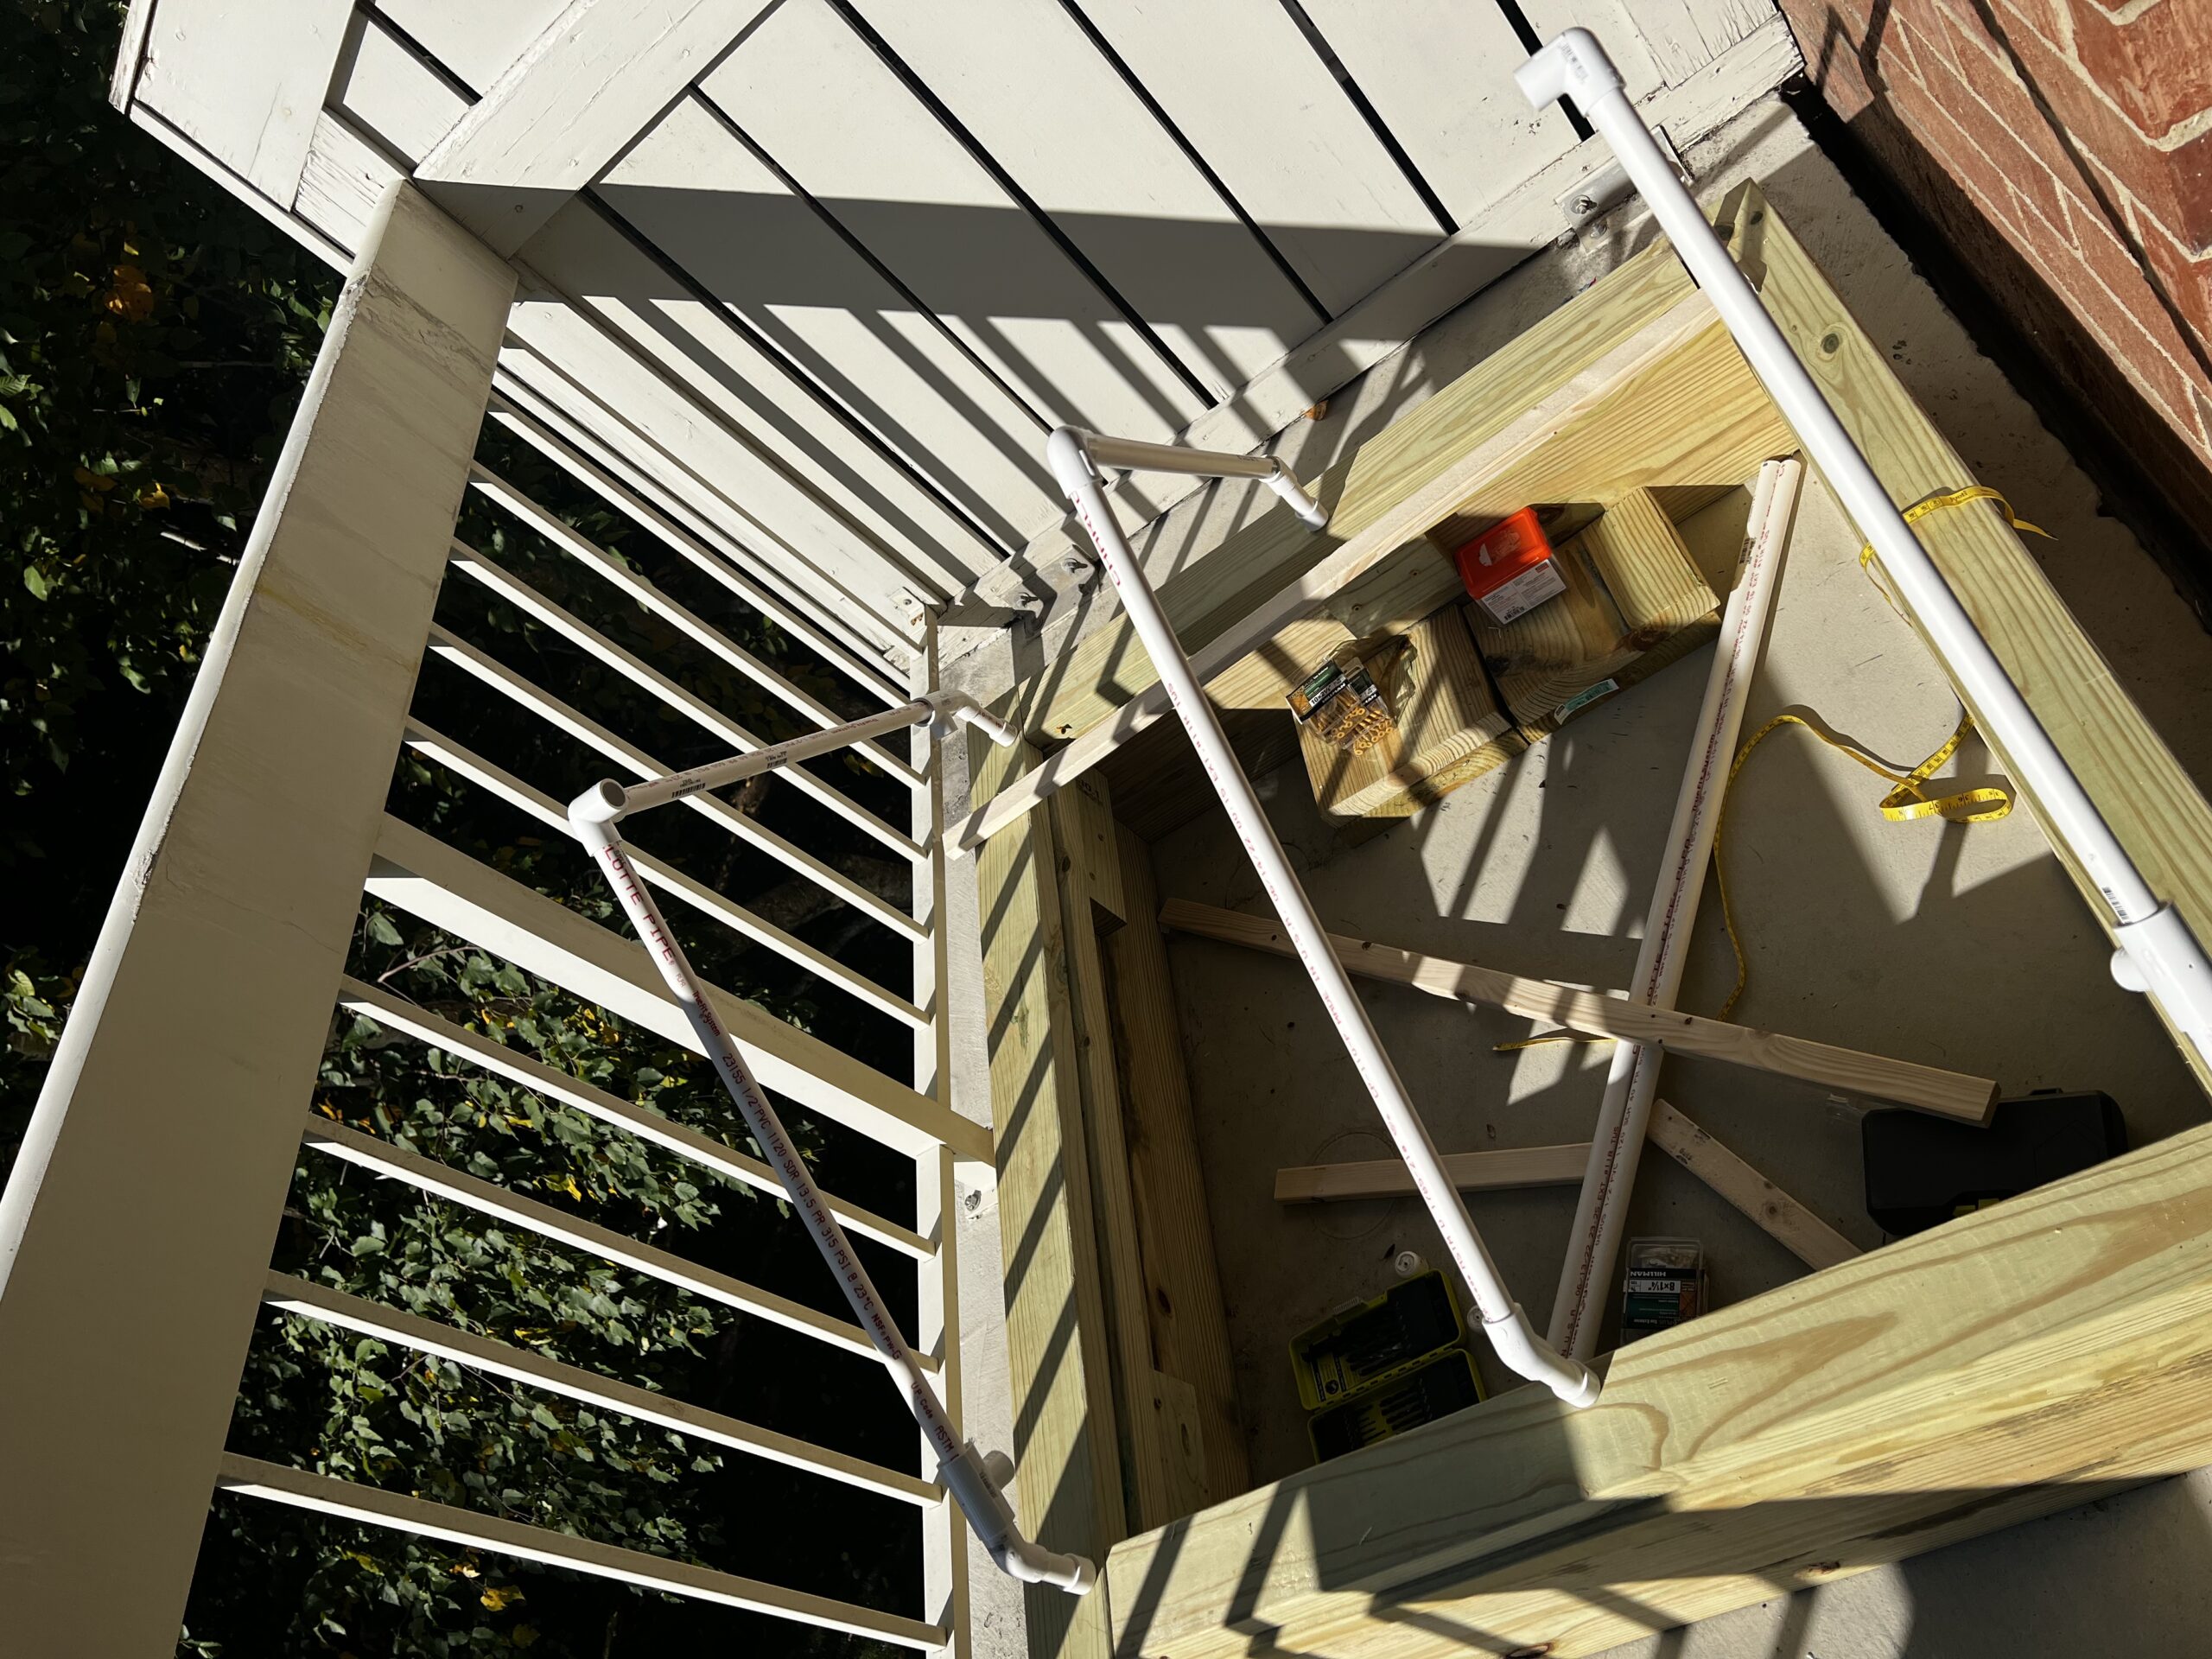
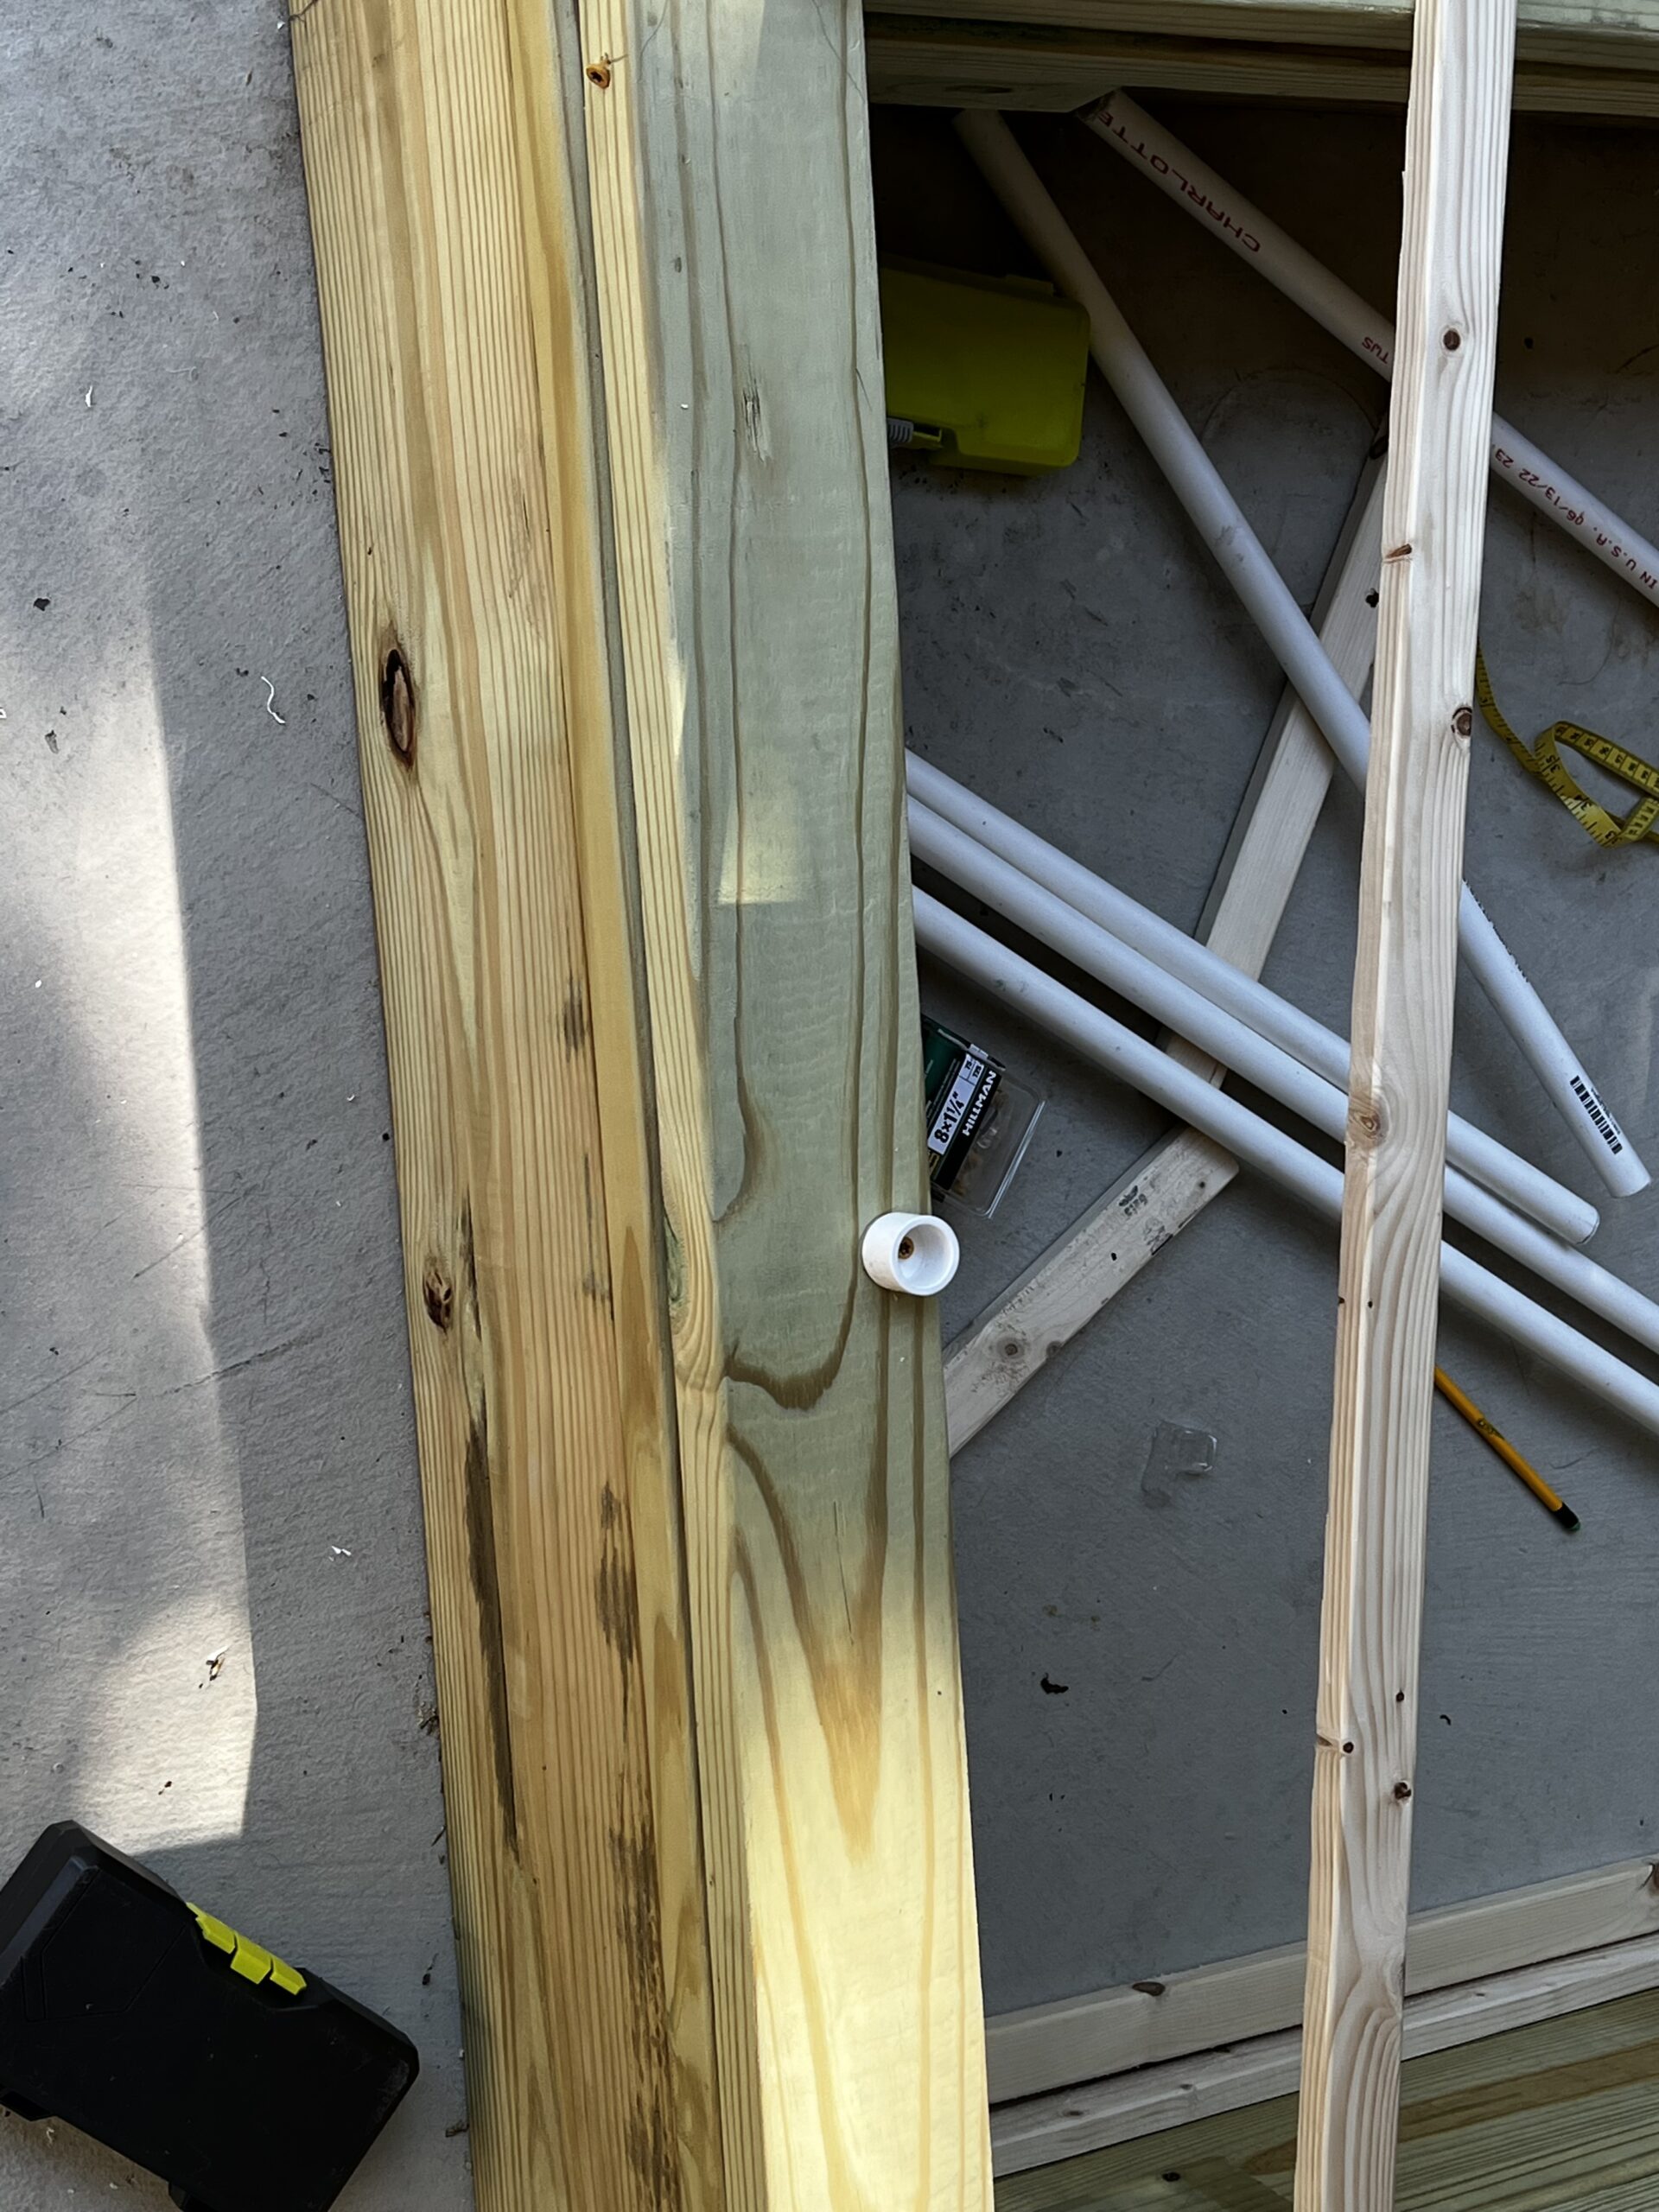
Step 4: Creating the Hut Structure
Now it’s time to build the triangular hut structure on top of the upper body base using PVC pipes and fittings. Attach 1/2-in PVC Sch 40 Caps to the front and back upper sides of the base, allowing you to insert 3-4 inch pieces of 1/2in PVC pipe. Attach 1/2-in 45-degree PVC elbows to the bases and form the triangular shape by connecting the PVC pipes. Strengthen the structure with 3/4in x 1/2in x 90-Degree PVC Sch 40 Tees in the middle and continue connecting the pipes as shown in the provided images.

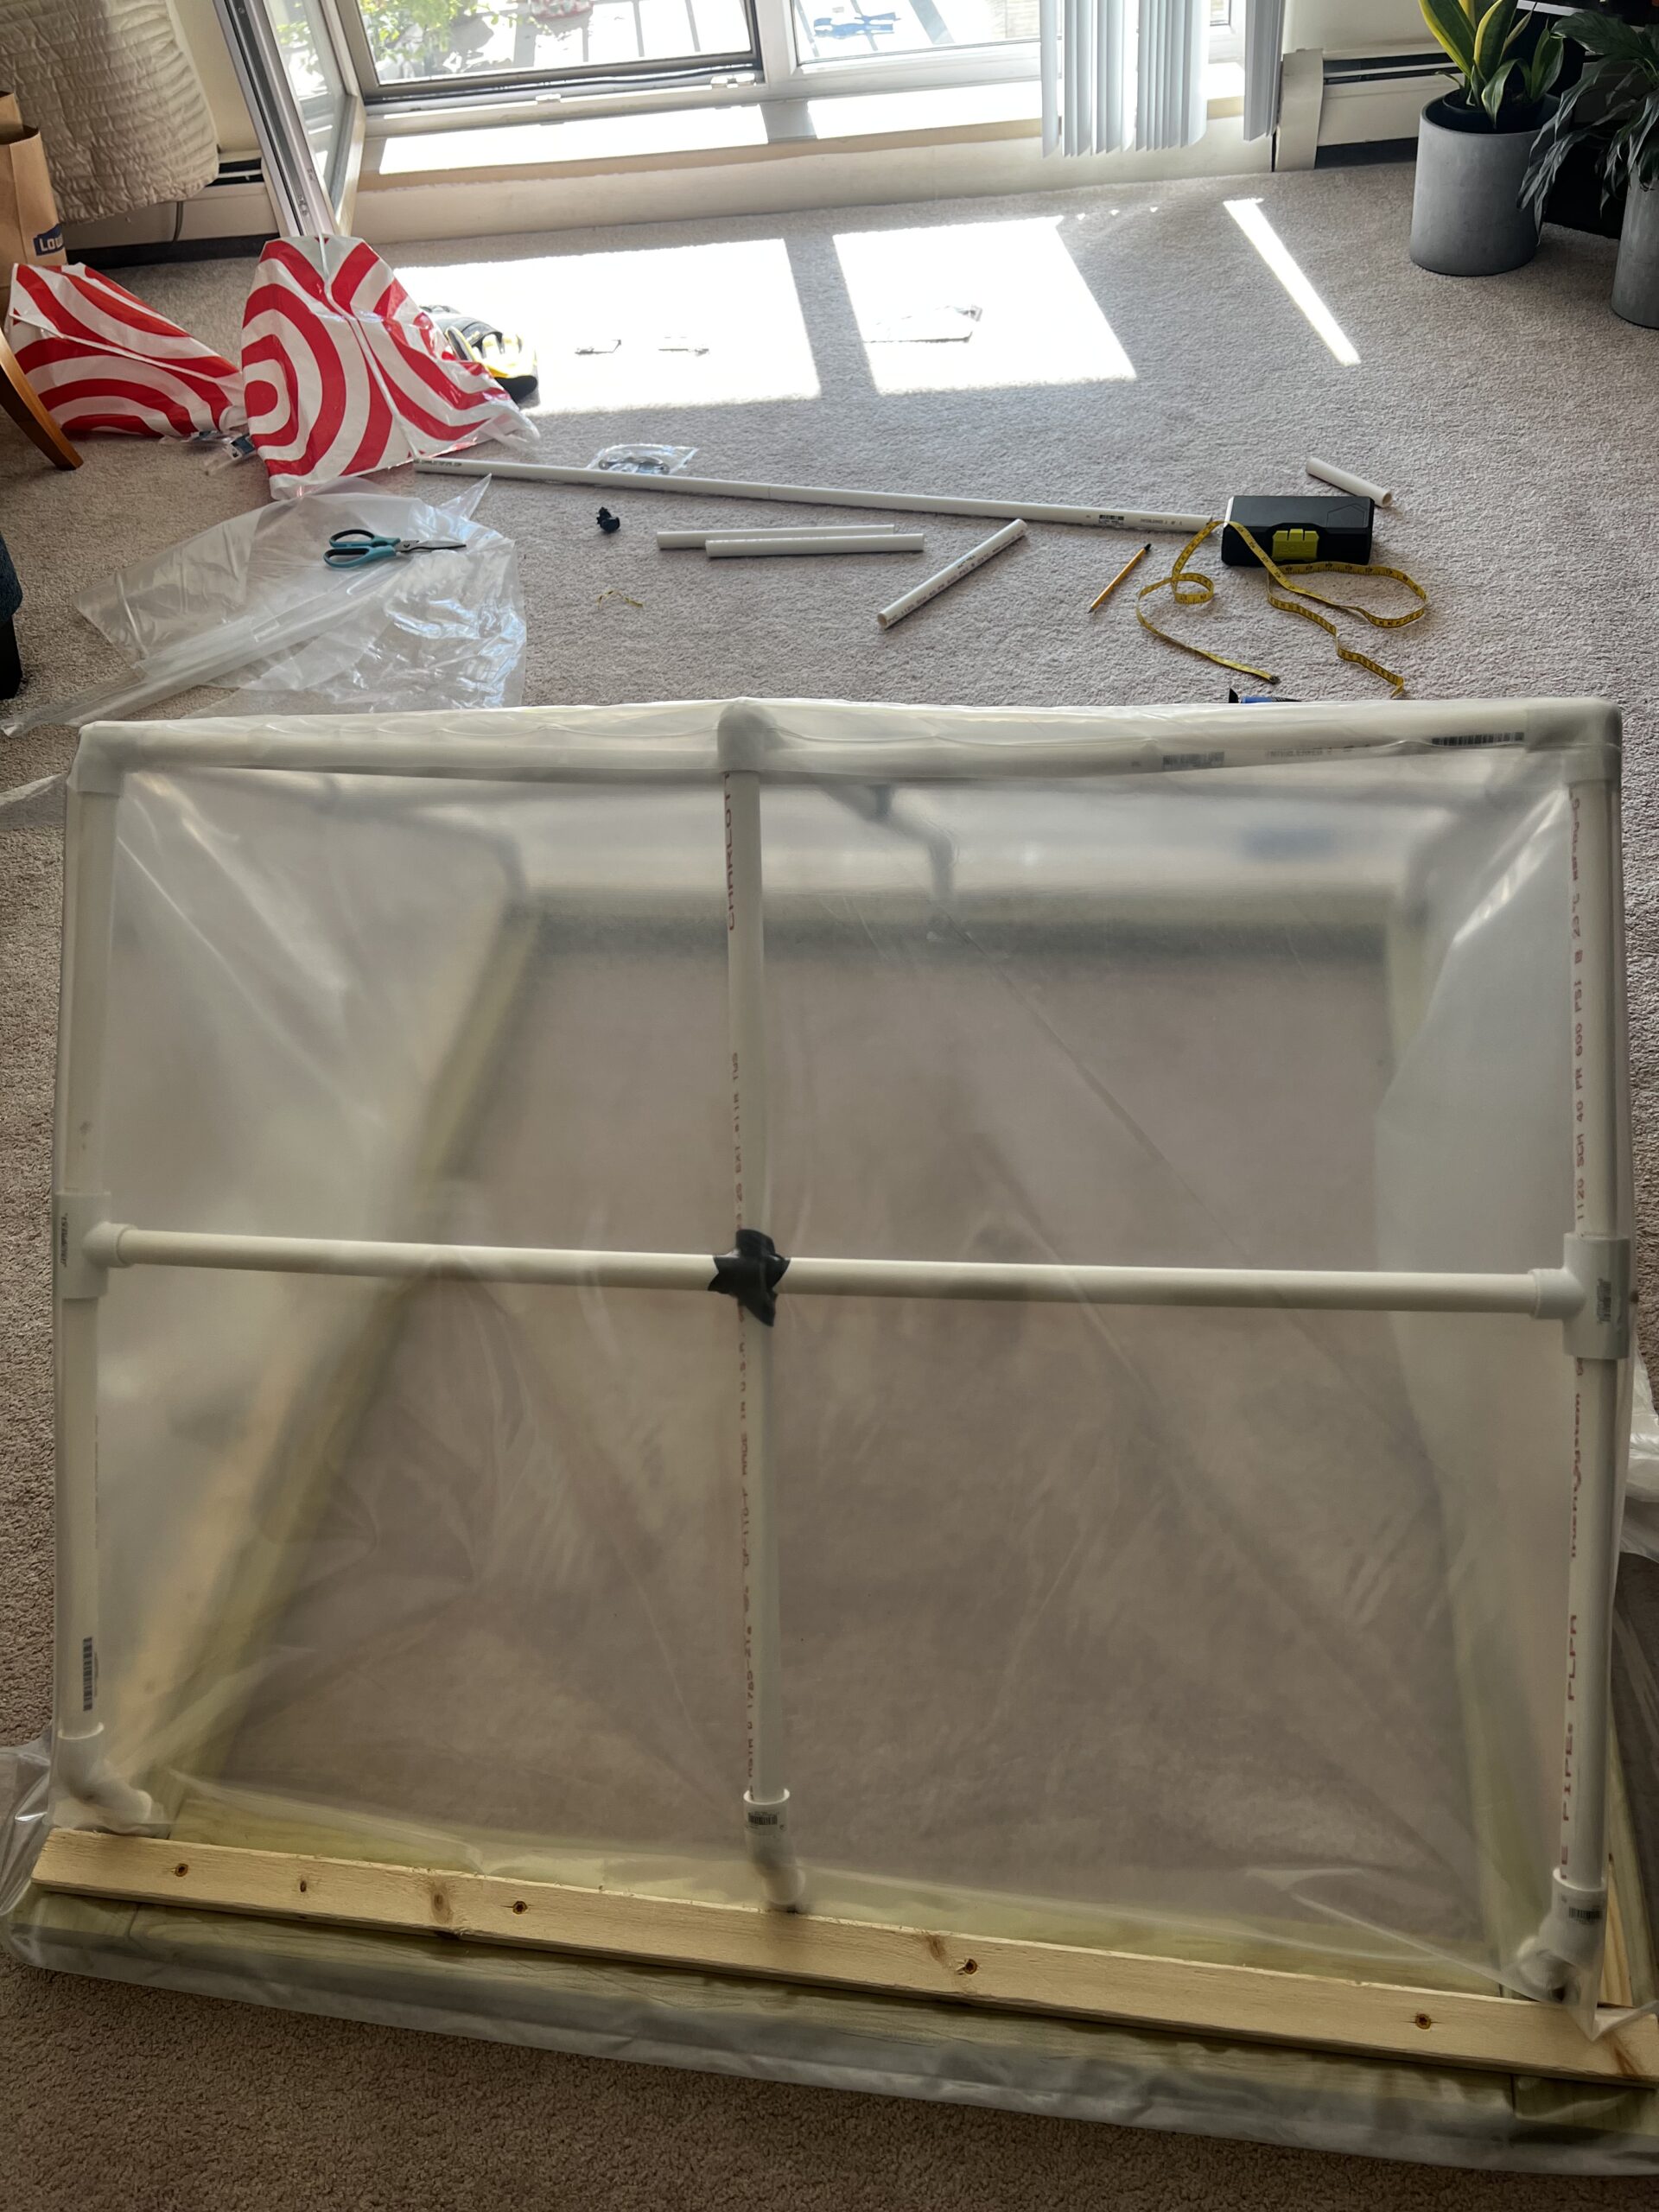
Step 5: Wrapping the Hut with Greenhouse Plastic
Cover the hut structure with one or two layers of greenhouse plastic, ensuring it is tightly secured. Use furring strips and deck screws to attach the plastic to the upper body’s base lumber. Additionally, use snap clamps to secure the plastic to the PVC pipes from the top.
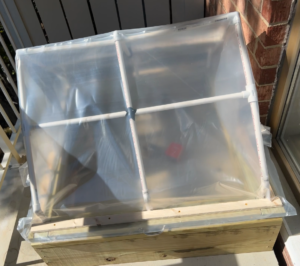
Step 6: Placing the Upper Body onto the Lower Body
Carefully align the upper body with the lower body and secure them together using hinges at the back. This will allow you to open and close the greenhouse like a magic box.
Step 7: Finishing Touches
Complete your compact raised bed greenhouse by attaching a stainless steel handle to the front, making it easier to open. With this final addition, your greenhouse is now ready to be enjoyed.
Conclusion:
Congratulations on building your very own compact raised-bed greenhouse! By following these step-by-step instructions, you have created a versatile and efficient structure to protect and nurture your plants. Enjoy the benefits of an extended growing season and the ability to grow a wide variety of plants, regardless of the weather conditions outside. Happy gardening!
Note: Remember to prioritize safety while working on this project. Wear appropriate protective gear, use tools responsibly, and exercise caution throughout the construction process. Happy winter!!!
Leave a Reply