Acknowledgment: First off, a big shoutout to ChatGPT for helping me turn my notes and ideas into this comprehensive blog post. [My Edits: The above is written by ChatGPT as well]
Introduction:
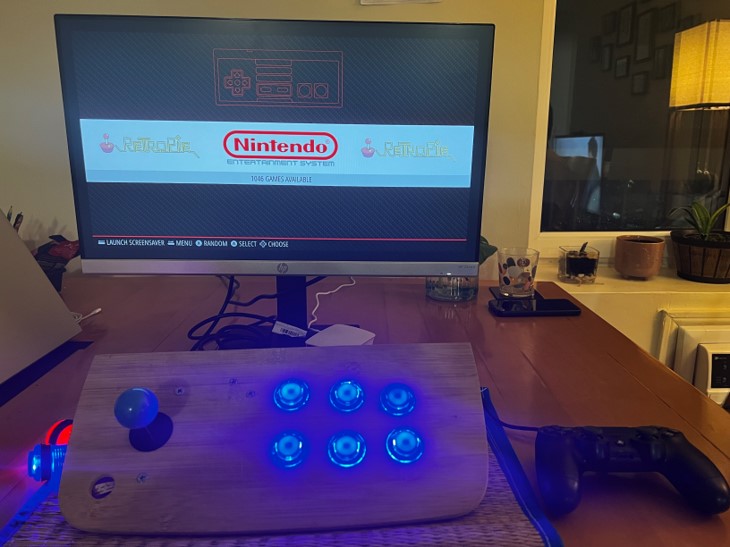
Hello, fellow gamers and DIY enthusiasts! Today, I’m thrilled to share the process of building a 2-player Arcade Gaming Console. This project not only rekindled my childhood memories but also challenged the creativity and technical skills. I chose to create a tabletop version for its space-saving convenience and adaptability to various table heights.
Part 1: The Electronic and Software Side
Starting with a Prototype:
Before diving into the full build, I began with a prototype focusing on the electronics and software.
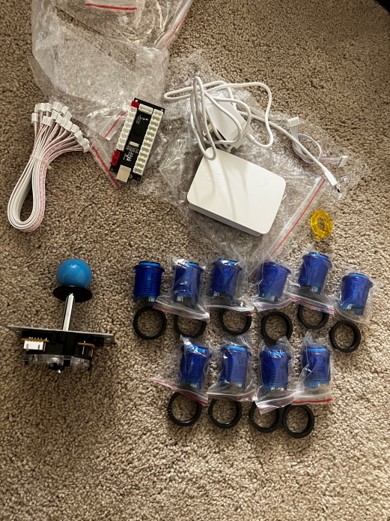
Materials for the Prototype:
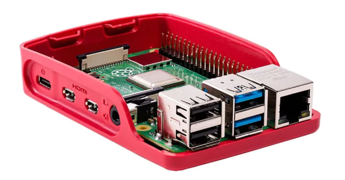
- Raspberry Pi
- Card Reader (for installing RetroPie OS)
- Arcade Buttons, Joystick & Controller
- Useful resource: Slagcoin
- My choice: Amazon Purchase
- Prototype Board (repurposed vegetable cutter)
- Monitor
The Build Process:
This process probably takes 4 hours in total if done right.
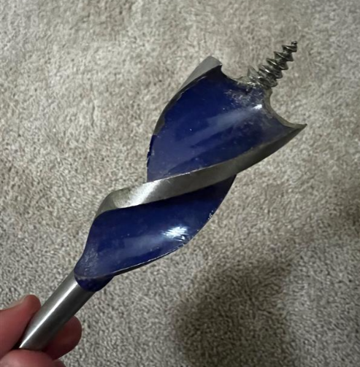
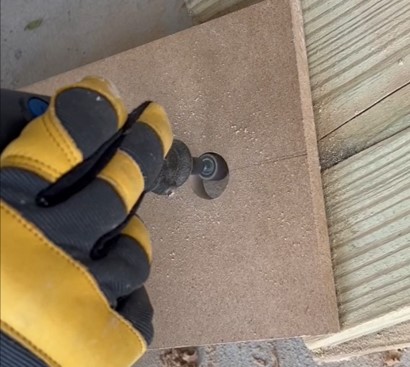
- Drilling 1.1-inch holes into the vegetable cutter board for six buttons and a joystick.

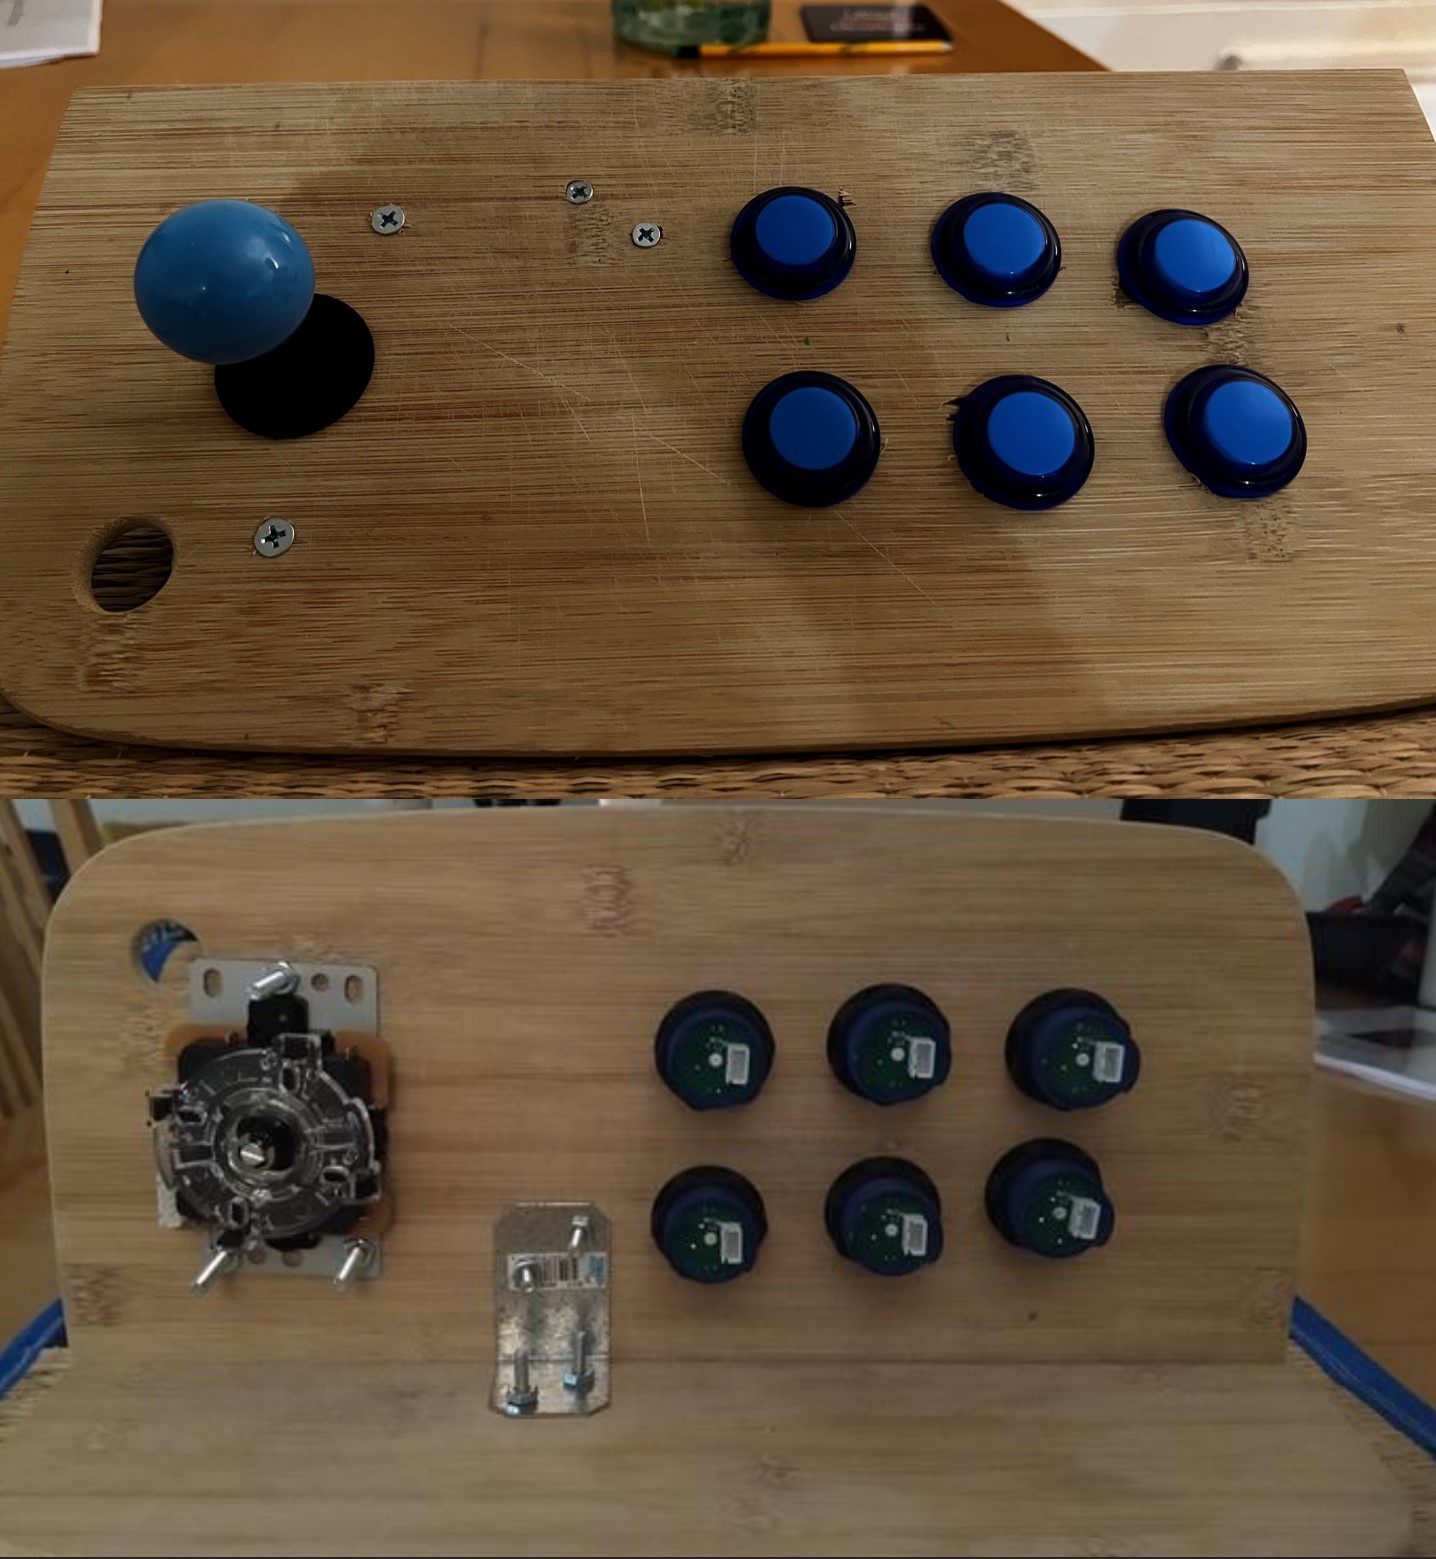
- Assembling the buttons and joystick and connecting them to the USB controller.
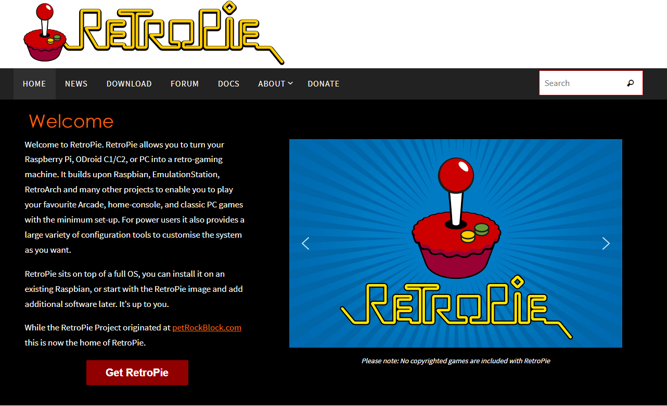
- Installing RetroPie OS on the Raspberry Pi (Installation guide: RetroPie Documentation)
- Configuring the Pi (Wi-Fi and location settings).
- Downloading ROMs from sites like MAMEDEV and setting up the emulation folders.
Configuring Controllers:
For a two-player setup, I used a PS4 controller along with the custom-built one. The configuration was straightforward, covering the primary buttons (A, B, X, Y, Start, Select, and Directions).
Part 2: The Woodwork
Transitioning from Prototype to Product:
With the electronics & software sorted, it was time to focus on the console’s wooden structure.
Materials for the Console:
- All items from the prototype, including a 19-inch Dell monitor.
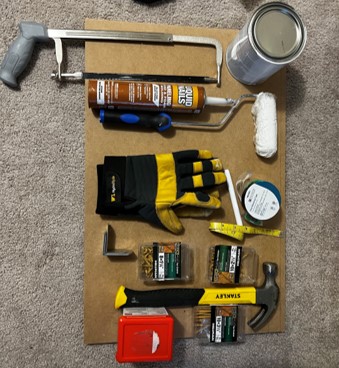
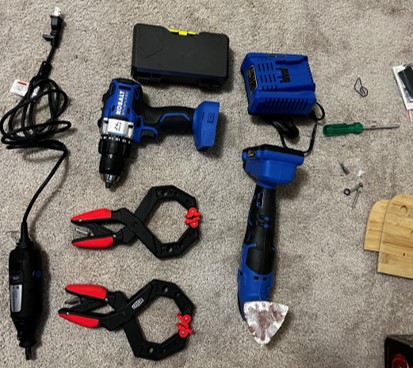
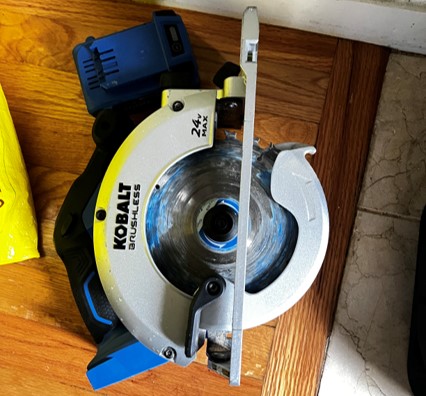
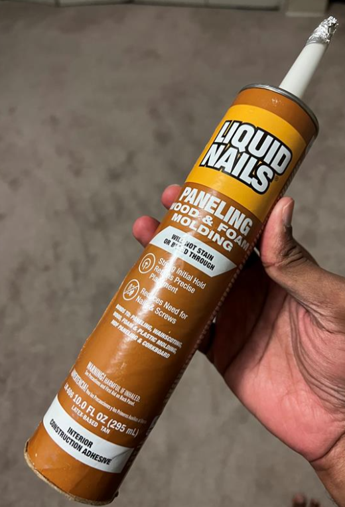
- Speakers, Extension Power Cord, Power Tools (Drill, Sander, Circular Saw), Clamps, Wood Glue, Hammer, Measurement Tools.
- Materials for Painting and Exterior Design (Brushes, Primer, Wooden Sticker).
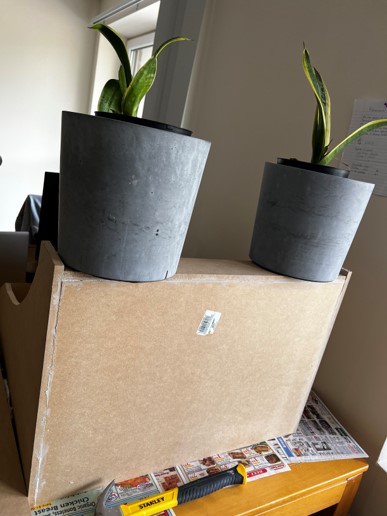
- MDF board – 1/2 inch thickness, Dowels.
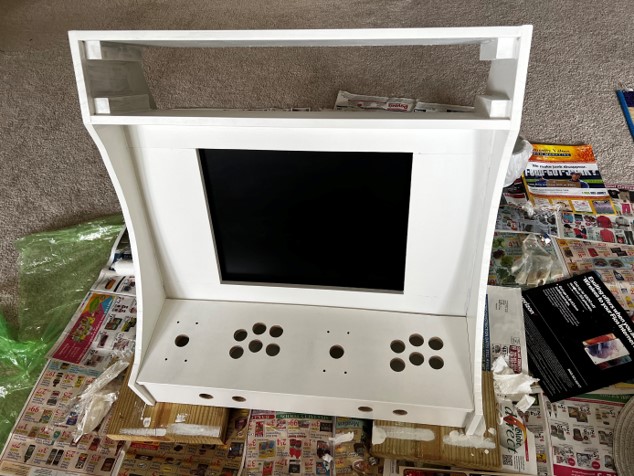
Detailed Woodwork Process:
-
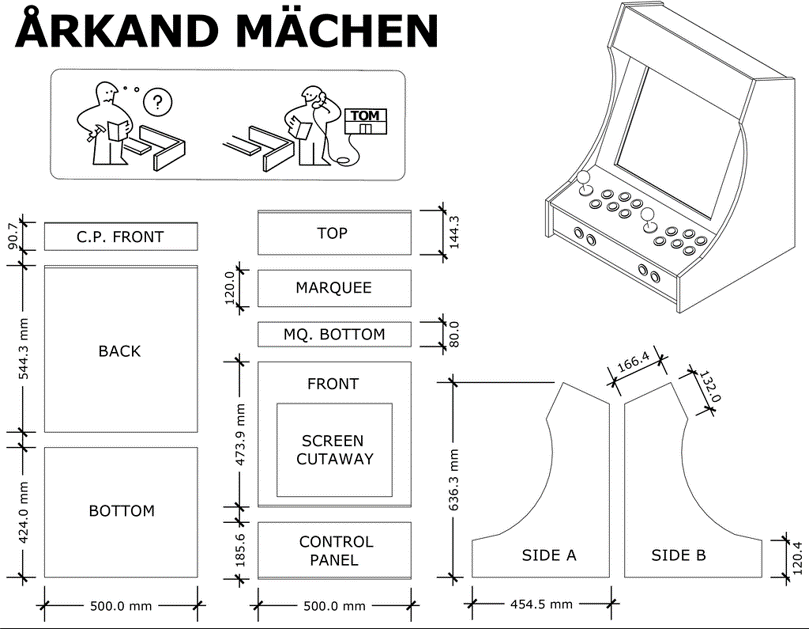
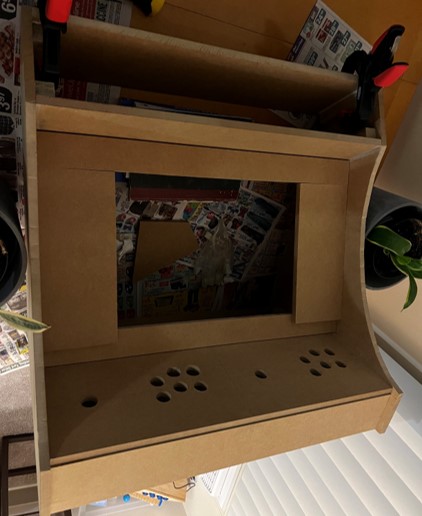
Design and Cutting:
- I used the layout design from an Instructables blog.
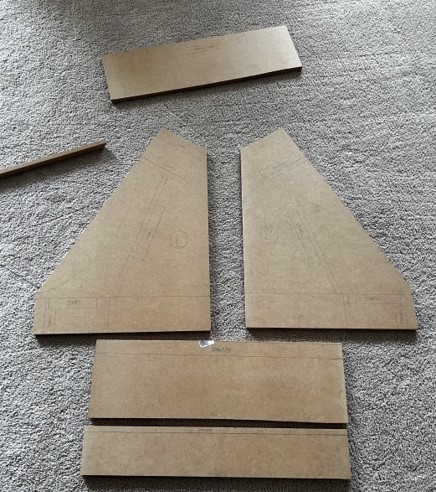
- Using the circular saw, cut the MDF boards to size based on the layout design.
- The side walls, with their curved edges, were particularly challenging, requiring precision and patience.
-
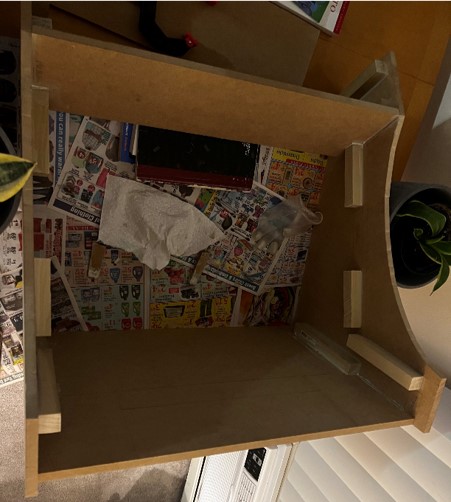
Assembly and Gluing:
- Dowels were used to align and strengthen the joints between different parts.
- I applied wood glue generously and used clamps to hold the pieces together, allowing ample time for the glue to set.

-
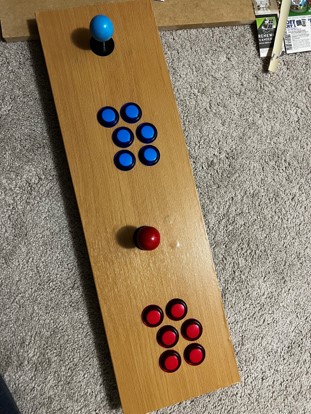
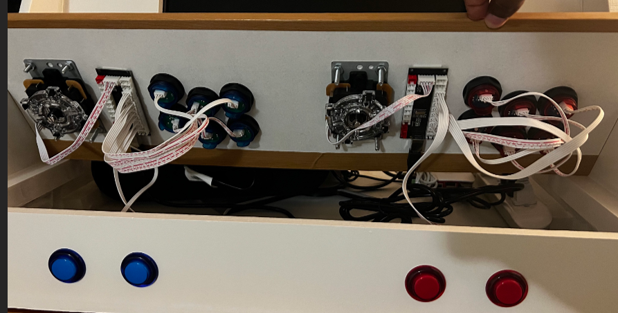
Building the Control Panel:
- The control panel required meticulous design, ensuring enough space for two players.
- I drilled holes for the buttons and joystick, testing their placement for ease of play.

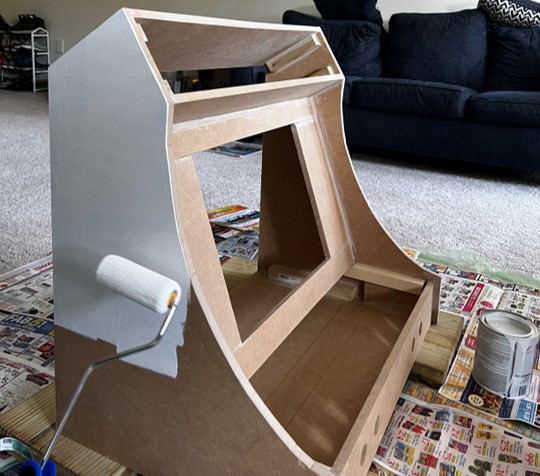
Final Touches:
-
Painting (actually only Priming):
- I chose a primer to prepare the surface, followed by a wooden sticker for a polished look.
- The choice of a neutral color scheme was intentional, allowing for future customization.
-
Stickers
- Wooden stickers are used only for the Control Panels to give a wooden feel back after priming.
-
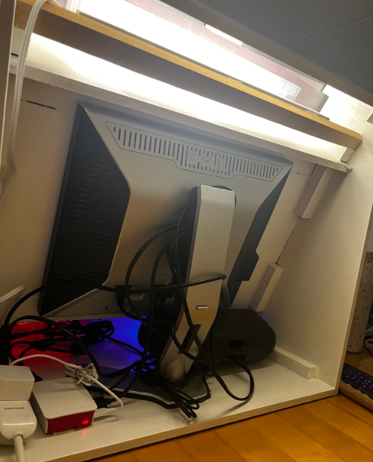
Wiring and Electronics Installation:
- Organizing and neatly routing the wires was crucial for both aesthetics and functionality.
- I ensured easy access to the control panel for future maintenance.
-
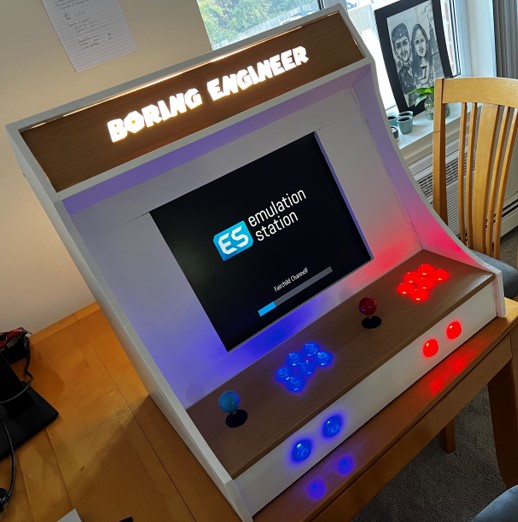
Lighting and Aesthetics:
- The console’s lighting was an essential element. I cut out letters from the wooden sticker and positioned a tube light behind them for a glowing effect.
- The lighting not only added to the visual appeal but also brought the console to life.
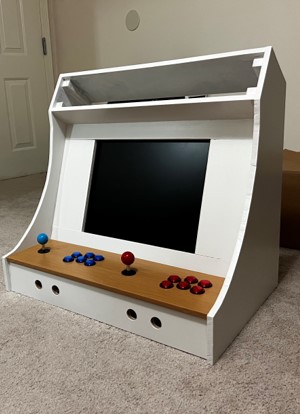
Conclusion:
The final product is a testament to the blend of nostalgia and modern technology, a 2-player Arcade Gaming Console that brings endless hours of joy. This journey has been immensely rewarding, and I hope it inspires you to create your own gaming masterpiece!
Happy gaming!
Leave a Reply